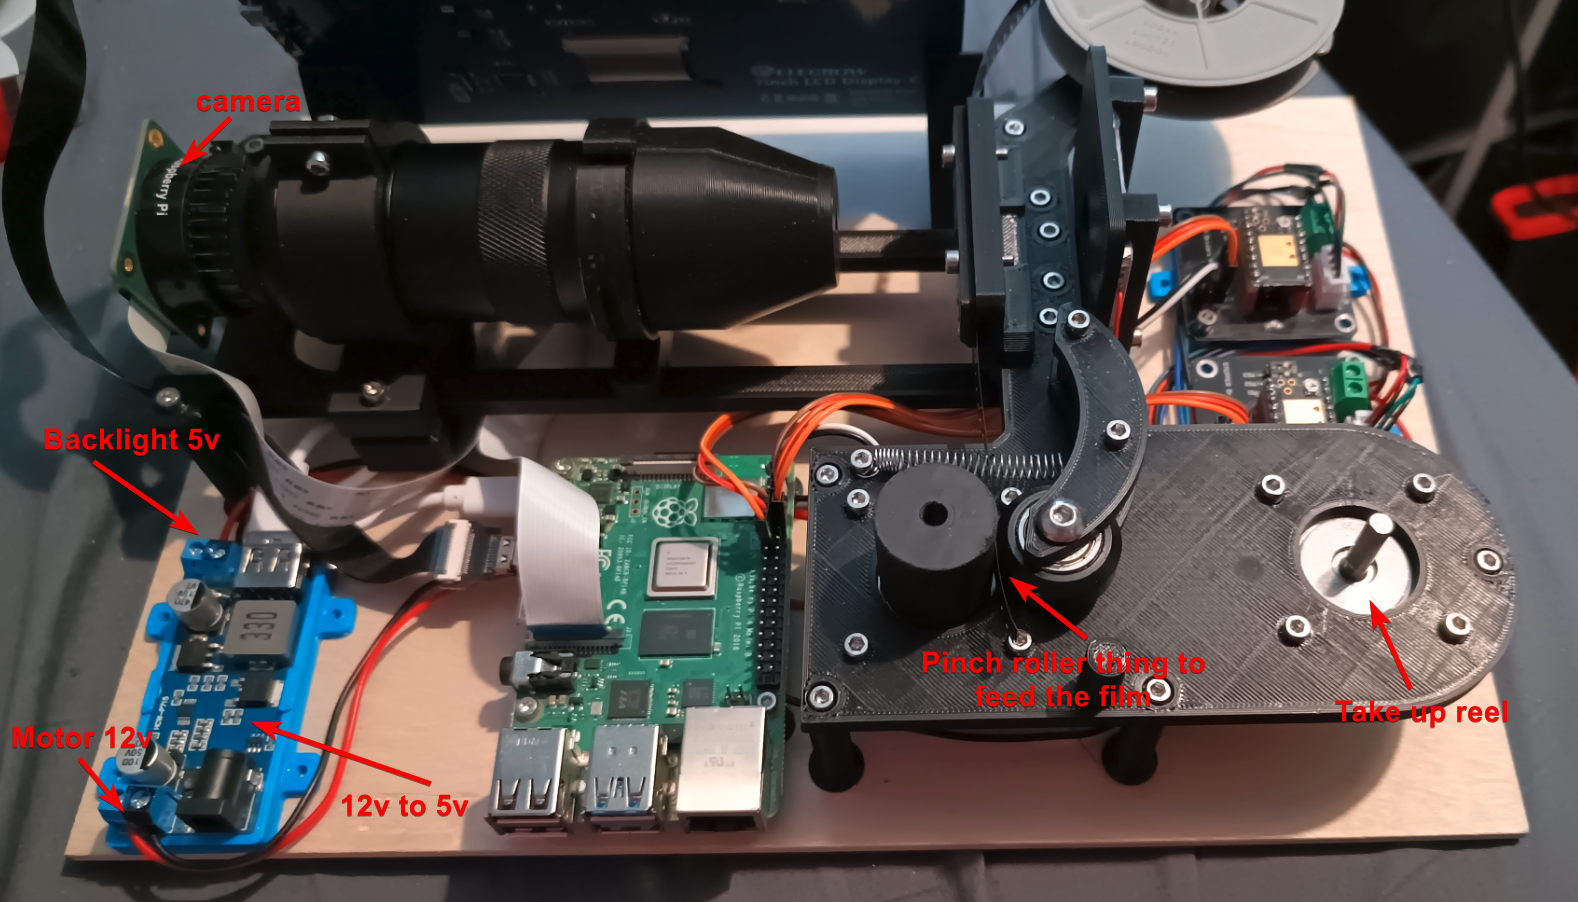
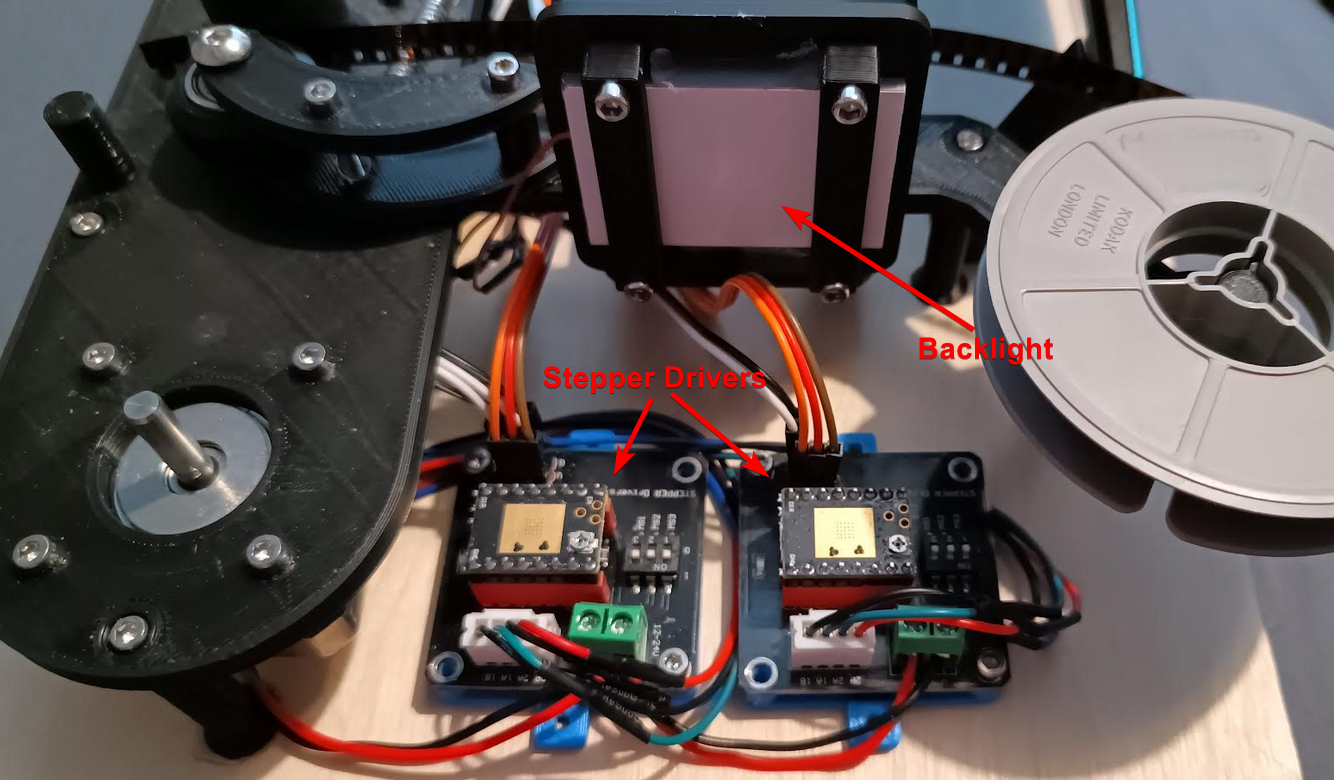
Ive swapped the LED panel backlight thing i was using, I don't know how i didn't notice it before, but its a really bluey white, its not just white.
I changed it out for the way the original design had it, it used an mr16 12v 5watt light, but with 5000k color temp, I ordered some 6000k because i couldn't find any on amazon that would be delivered within the next few weeks. What arrived was a 6500k... so yeah, im not sure how its gonna look.
Also, unless im using the wrong search terms, i could not find any white diffuser sheets on amazon, except one, which was like 5ft long and i literally need a 2 inch circle of it😭
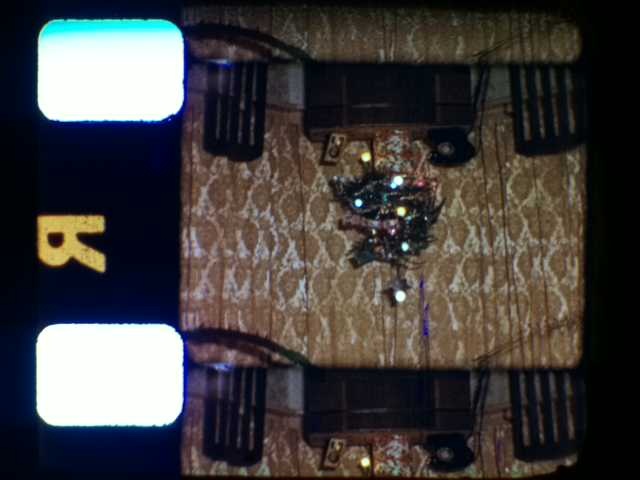
I ended up using a sheet of plain white paper in the end. It looks ok to the eye, i haven't looked with the camera yet.
Oh, i will say... despite being LED, they get fucking HOT, I ran one earlier for about an hour whilst i was working on the GUI and it reached 90c... I have no idea how the printed holder for it will hold up for at that temp, im pretty sure PLA glass transition temp is like 60c.
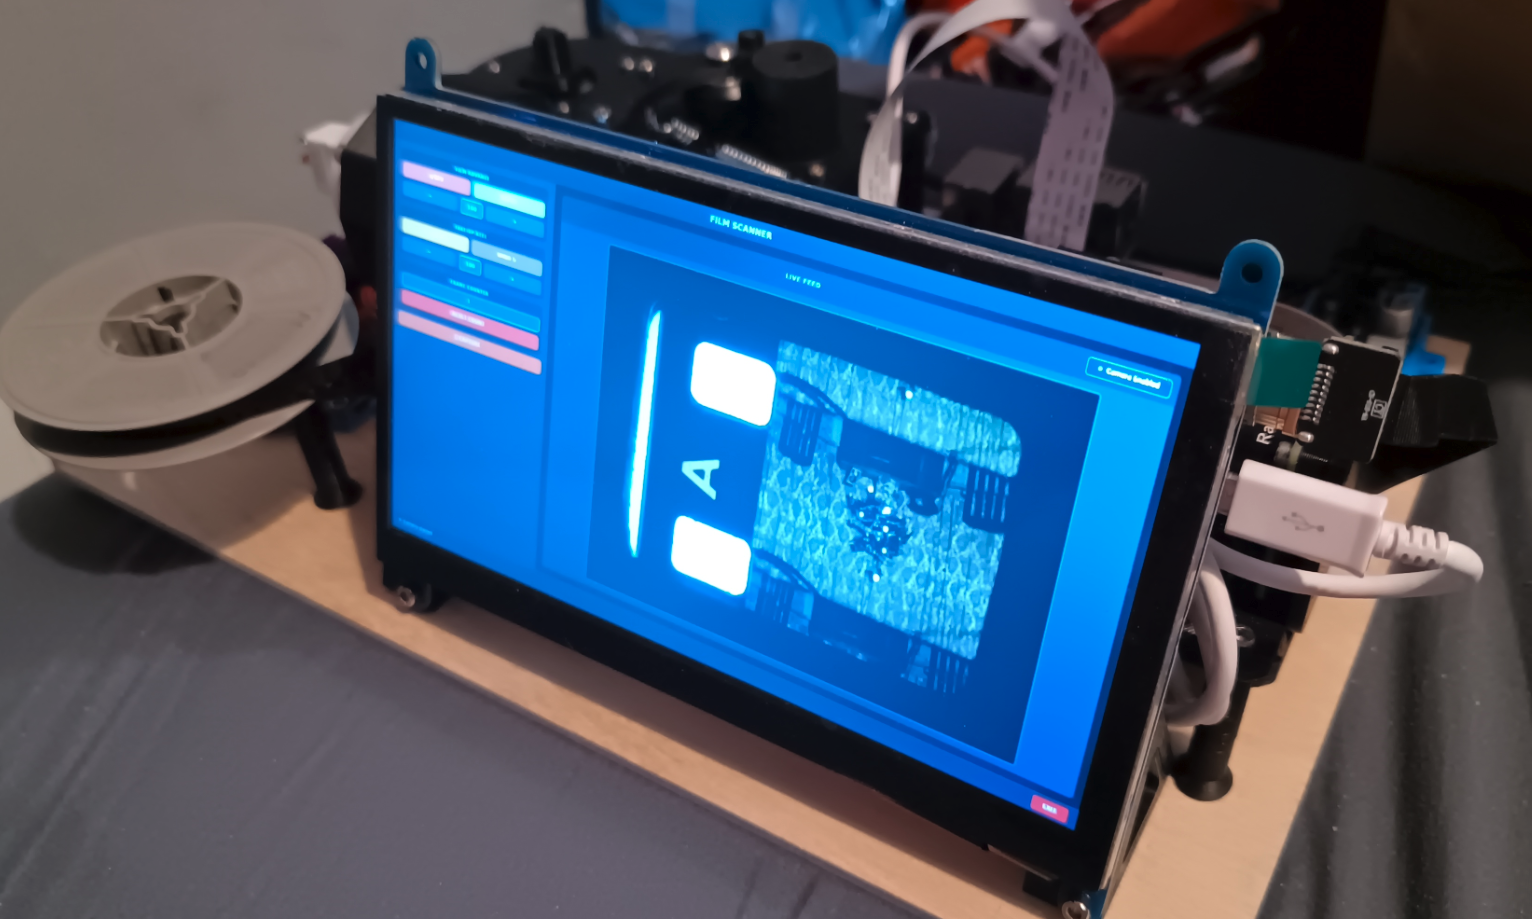
Oh, talking of the GUI, Ive moved to useing .net and Avalonia. I really tried with python but i just cant, i hate every second it. The icing on the cake being installing pip packages without using a venv, If you try, you're met with "YOU CANT DO THAT, IT WILL BREAK THE OS" bullshit. So fuck em.
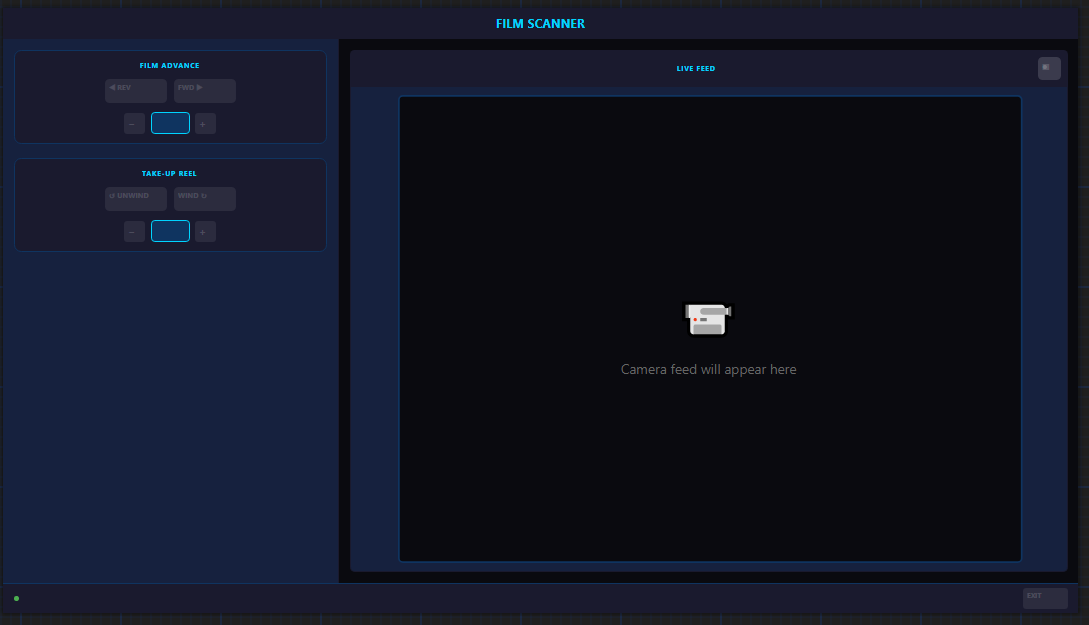
The new gui is ugly af, but meh, it aint for looking at, its basically for pressing start and viewing the camera. I have the motor driver stuff all setup, but i havent touched the camera side of things, im kinda dreading it tbh, i know .net can work with the camera, but i dont know how nicely it works with it.

Like i said, ugly af. But its a work in progress, so 🤷♂️