Posts are becoming few and far between, i must post some shit.
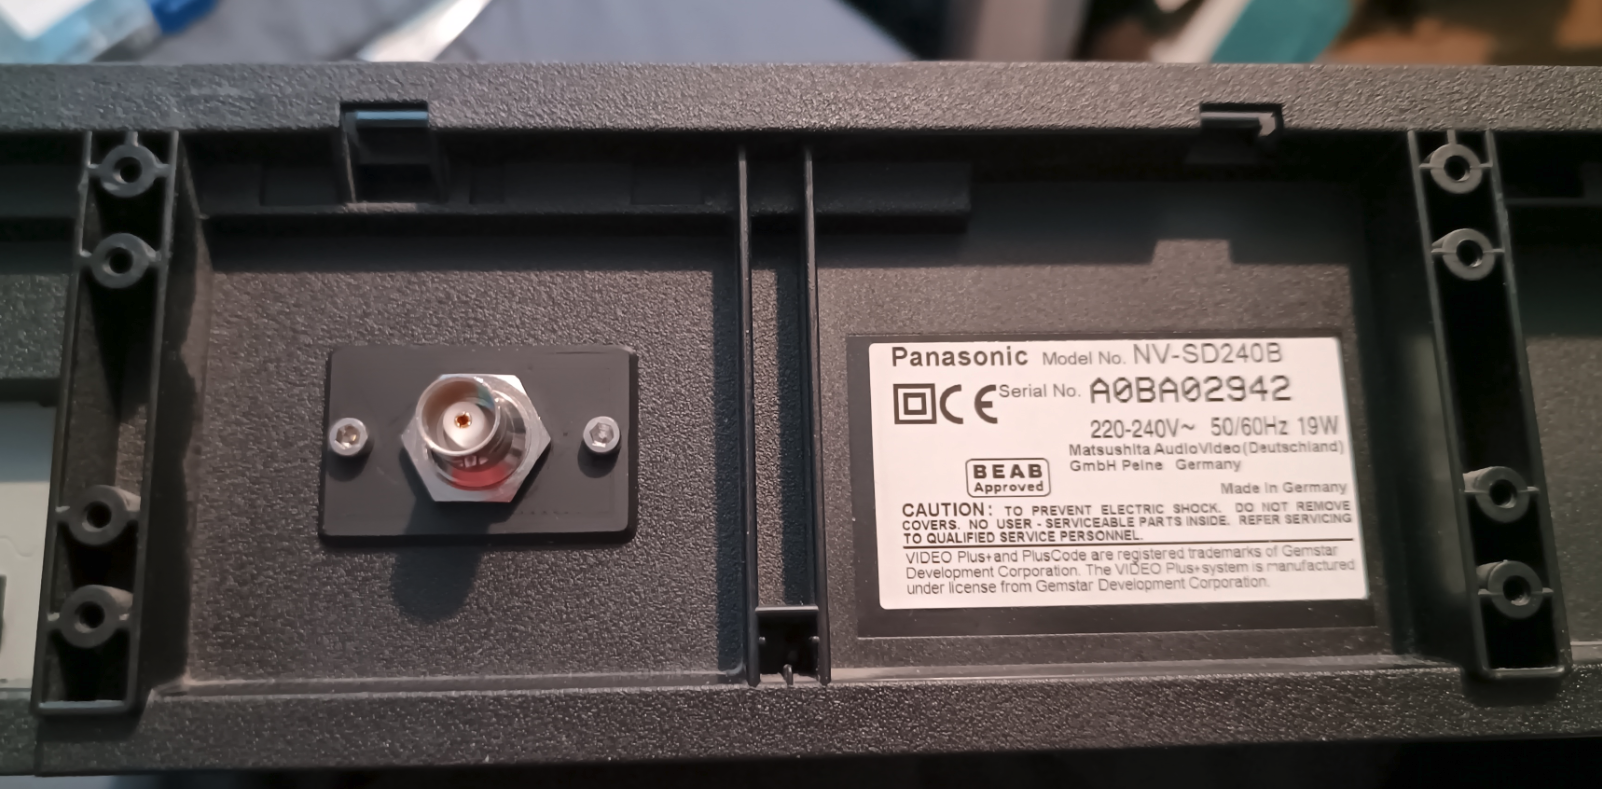
Ive mounted the RF FM output BNC.

I made a little plate for it, i would like to say because of care and attention, but no, its cause i made the hole to big for the BNC connector 😂
It looks good tho, even if i do say so myself.
The Chinese food has arrived, Which is far better than the chinese pcm1802 modules available on amazon😭
Ive ordered chinese food. They usually deliver within 30ish mins, but today, now im hungry af, they are taking forever 😭
Been knocking together an adapter for the vhs thing, Whilst looking for some components in my component box, i found that pcb that went missing and had to remake the other day😒
i started building the clockgen mod and desided id rather be high. So now im laying down watching bigclive.com
It doesn't have hifi... Ive been looking at the service manual which specifies HiFi in multiple places and has the HiFi logo on it. I just checked the original manual, No mention of HiFi anywhere 😑
So what im gonna do is just hook it up with linear audio and see if i can get it all working correctly, If i can, then i will buy a new player from ebay, They are fairly cheap, a hifi deck is like 30ish.
I know i mentioned yesterday about the documentation being difficult to follow, But you know what would make it better in general for the entire project? A good fucking forum. Not fucking discord, discord is great for calls and messaging, but fucking useless as a replacement for a real forum.
All they would need is a pretty basic phpbb forum with some general chat, Confirmed working / tapped decks, each with there own thread, and a sub forum for decks people need help with / unconfirmed taps.
It would keep it way more organized, You could just look to see if it has a thread for a confirmed working deck, and if you have any issues with it, then post in that thread, all the info is kept together, and its not just one giant fucking stream of information with no organization like on discord. Same if your the first person trying to get a deck functional, just post a thread with what info you have, any datasheets and manuals, and hope someone helps.
My primary hate for discord is just how closed it is, you can google search all you like, but it wont ever show any information from discord, which makes it difficult for new people to the project.
Im still trying to find the hifi audio tap point on the vhs deck.
I have had a look around on the discord and nobody else seems to have used the same deck i have, so its pretty sparse of information, But when i was looking for info on the chip i think is processing the audio, i found a thread on digitalfaq that mentions that another deck uses the same IC, but under a different part number, and that deck is mentioned on the discord, and someone confirms its a hifi tap point. The only problem is, the schematic doesnt for that deck, doesnt share much with the deck i own🤷♂️
Ive looked for the datasheet for the ic my deck uses, and there is absolutly nothing out there about it except the forum post mentioned earlier, and listings for datasheets that lead nowhere.
I will say, the documentation for the vhs-decode project could use some work.
Its not bad, all the information is there, its just... a mess, in my opinion.
They use github for the documentation, but i think its kinda outgrew it. They could use a dedicated website, whether thats something custom or just a mediawiki instance, im sure it would make things much easier for people to find what they are looking for.
But i aint gonna do it, so 🤷♂😂
The pcb i previously mentioned is for helping rip VHS tapes, Im trying to do it the "vhs decode" route. I originally purchased a vhs player to do it a few years ago, but it turned out to not be suitable for the job, so i ended up buying another one at the beginning of last year, then my friend died which has fucked me up and derailed pretty much all projects i was working on.
I have a shit load of vhs tapes laying around, so i wanna make a copy of them using the vhs decode method, and then get rid of them, Which should free up a decent amount of space.
Im using a Panasonic NV-SD240B, which is advertised as 'HiFi', but fuck if i can find the HiFi audio test point on it.
I have hooked up what im hoping is the RF video output, Im using the little amp board thats made for the project, which is the pcb i was looking for earlier, i just hope ive calculated the gain correctly.
Ive modded the CX card to remove cap 31(?), and the crystal. I have what i need to make the clockgen mod, but i would like to find that hifi point, if i can then it makes the clockgen mod easier to build as i wont need the linear audio part.️
Found it, I have no idea why but i put it in my screwdriver drawer, wtf 🤷♂️
So that prject i mentioned last post, i lost the pcb, well i made a new one last night. Just started working on the project again... and its fucking disappeared...😒😑
I know i keep saying it, but its so fucking hot, i hate it.
I thought i might pick up an older project, if i can get it done, i can save myself a lot of space by getting rid of half the crap i have i need to actually proceed with the project.
I had the pcb all soldered up and in an antistatic bag, I had it in my hands the other day, cause i was looking for something else and saw it and thought "huh i should finish this", then put it somewhere and i have no fucking idea where. Ive looked in 4 boxes, 6 draws and other places, I cant find i for shit 😭😒
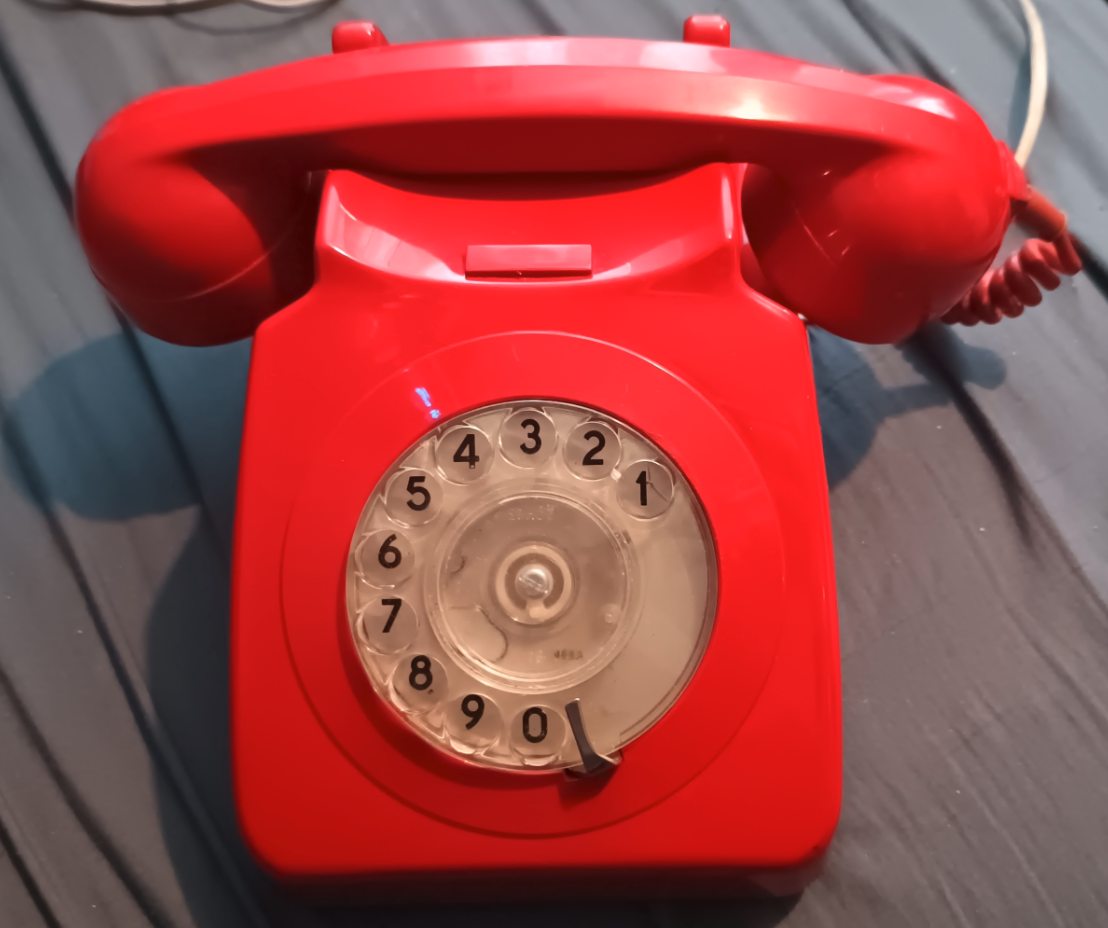
In other news, the phone has arrived...
Fucking annoying me i dont know why the leds worked without issue the other day, and it wasnt a fluke, i did multiple differant tests and ran differant test patterns to make sure it was stable. Now today its just not working at all. even with the exact same setup. I just cant wrap my head around it. So fucking frustrating. This is why i detest working with c / c++
Oh fuck it. i give up. i cant be bothered with this shit anymore.
Im using the EXACT same code i posted about the other day, u know, the one where i said i finally got it working, then posted a picture (maybe a gif) of it working? Well its not not working. Same pcb, same code, same power supply, same raspberry pi. Literally nothing has changed. Now its just "kinda" working, as in, every so often, if you dont have an eppie whilst looking at it, it will show the correct pattern.
I cant deal with this bs atm.
Just working on the code. Im trying to think waht i might need before i start doing anything major. I think a mode selection would be a good start. that will then give me pretty defined code areas for each mode.
I could have swore i had 1 more spool of red filament, but apparently not.
Just ordered some, it will be here tomorrow.
Right, ive decided this is the last print of the frame im going to do unless something is majorly fucked up. If something else is wrong, ill just modify the model, and modify the already printed part. The reason being, ive still got a lot of the waltzer to print, which is gonna use the same red, and i dont really wanna break into a new spool until i need to.
Ive gone over the model multiple times, i cant see anything else i might need to adjust. They have predicted another heatwave over the rest of the week and weekend, So i wanna get this printing done before that hits.
I added a chamfer to the mount holes for the encoder / knobs, Not that it would ever be visible. Oh i modified the main edge fillet on the frame too, i changed the tangent value, which looks like it might print better, but i have my doubts.
Something i have noticed on the version that finished printing earlier is that the radius on the edges of the frame dont feel very... radiussy.. I dont know the word for it. But it feels more like a rounded chamfer than a true radius. Not sure why, but hopefully the adjustment i made will change that for the better. Guess ill find out later🤷♂️